

Table of Contents
- Essential Gunsmithing Tools for Trigger Work
- Safety Precautions Before You Start
- Custom Trigger Installation Step-by-Step
- How to Perform a Safety Function Check After Trigger Install
- Common Trigger Installation Mistakes to Avoid
- Troubleshooting Installation Issues
- Conclusion
Last Updated: August 27, 2026
Essential Gunsmithing Tools for Trigger Work
Custom trigger installation requires precision equipment. Without the right tools, you risk damaging your firearm’s frame, trigger group, or internal components, creating serious safety problems.
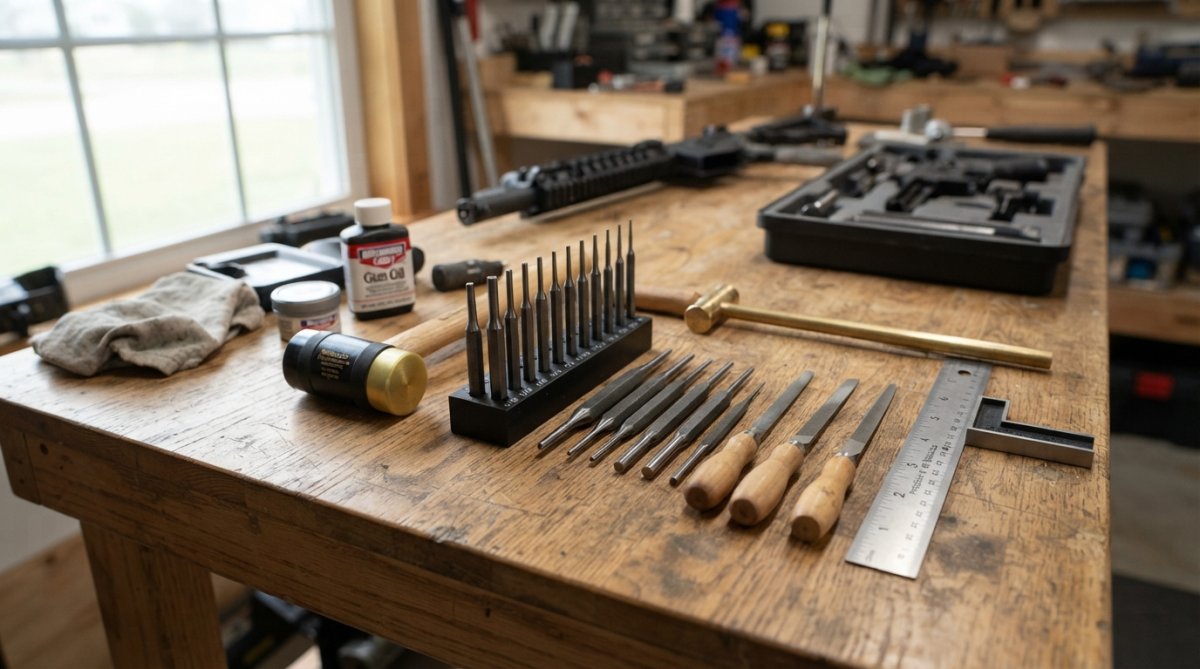
You’ll need a punch set designed specifically for gunsmithing, sized to match firearm pin diameters with hardened steel construction to prevent mushrooming. A quality set typically includes 1/16", 3/32", and 1/8" punches, covering most common trigger pin sizes (atf.gov).
Invest in a small nylon or plastic mallet (4-8 ounces) to reduce the risk of marring finished surfaces, and a proper firearm vise or clamping system with padded jaws to protect the receiver. A standard bench vise works, but specialized gunsmith vises are preferable.
You’ll also need pin punches or slave pins to hold springs and components during reassembly, and a small file set (needle files in round, flat, and triangular profiles) for fitting work. A $40 punch set and $20 mallet are cheap insurance against a $200+ mistake.
Safety Precautions Before You Start
Before touching your firearm, establish an ironclad safety protocol. Treat every firearm as if it’s loaded. Remove the magazine, then physically inspect the chamber and magazine well by looking directly into the chamber from the rear. Rack the slide or bolt multiple times to ensure nothing is chambered.
Work in a clean, well-lit area away from distractions with your phone silent and out of reach. Wear safety glasses with side shields to protect against springs or components launching unexpectedly (osha.gov). Use a small parts tray or magnetic mat to keep springs, pins, and detents from rolling away.
Organize your workspace logically and lay out all tools and components before starting. Understand the firearm’s mechanical safety features, firing pin safety, drop safety, and sear engagement points, before disassembly so you can verify the new trigger assembly works correctly.
Custom Trigger Installation Step-by-Step
Step 1: Disassemble Your Firearm
Remove the slide or bolt carrier group according to your firearm’s manual. Once the slide is removed, inspect the trigger group area and take a photo or video of the configuration before removing anything. This reference is invaluable during reassembly.
Place your firearm in the vise with the trigger group facing up, positioning the jaws to support the frame rails without pressure on the trigger group itself.
Step 2: Remove the Trigger Pin and Locking Block
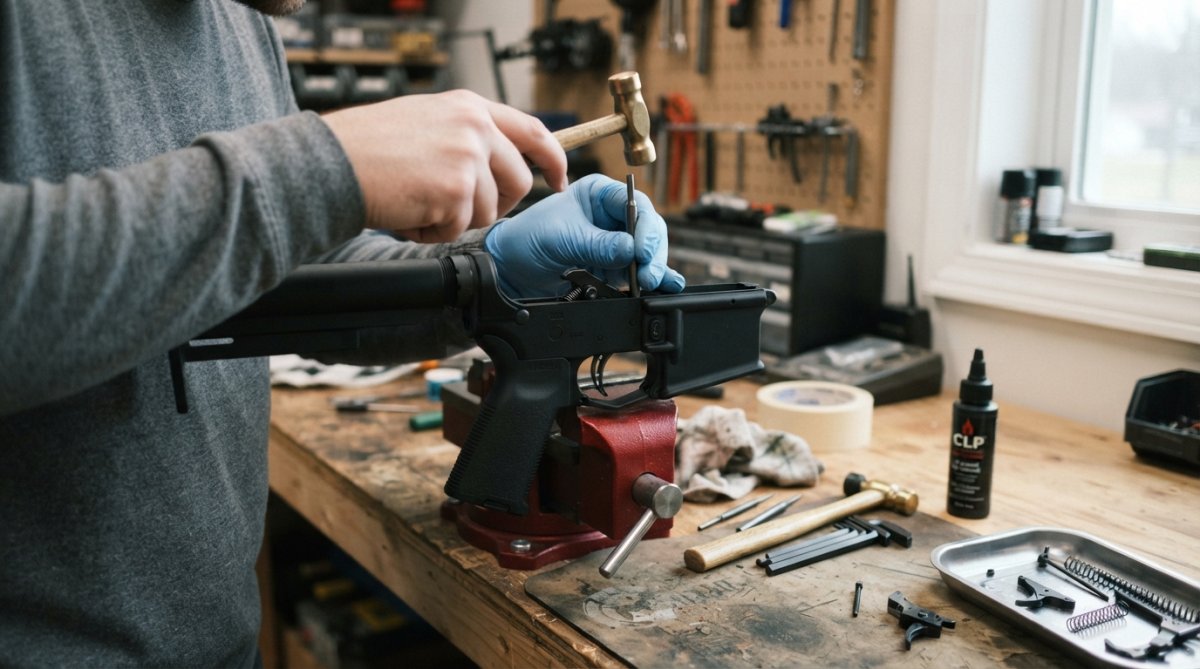
Select the correct punch size (typically 3/32" for most platforms) and insert it through the trigger pin. Place the tip squarely on the center of the pin and tap with steady, controlled 2-3 ounce strikes. Once the pin is halfway out, remove the punch and pull the pin the rest of the way by hand to prevent damage to the opposite side of the frame.
With the trigger pin removed, access the locking block, a small rectangular component that indexes the trigger group. If it has a separate pin, remove it using the same punch-and-tap technique. If it’s a friction fit, gently pry it out using a small screwdriver or punch.
Step 3: Install the New Trigger Assembly
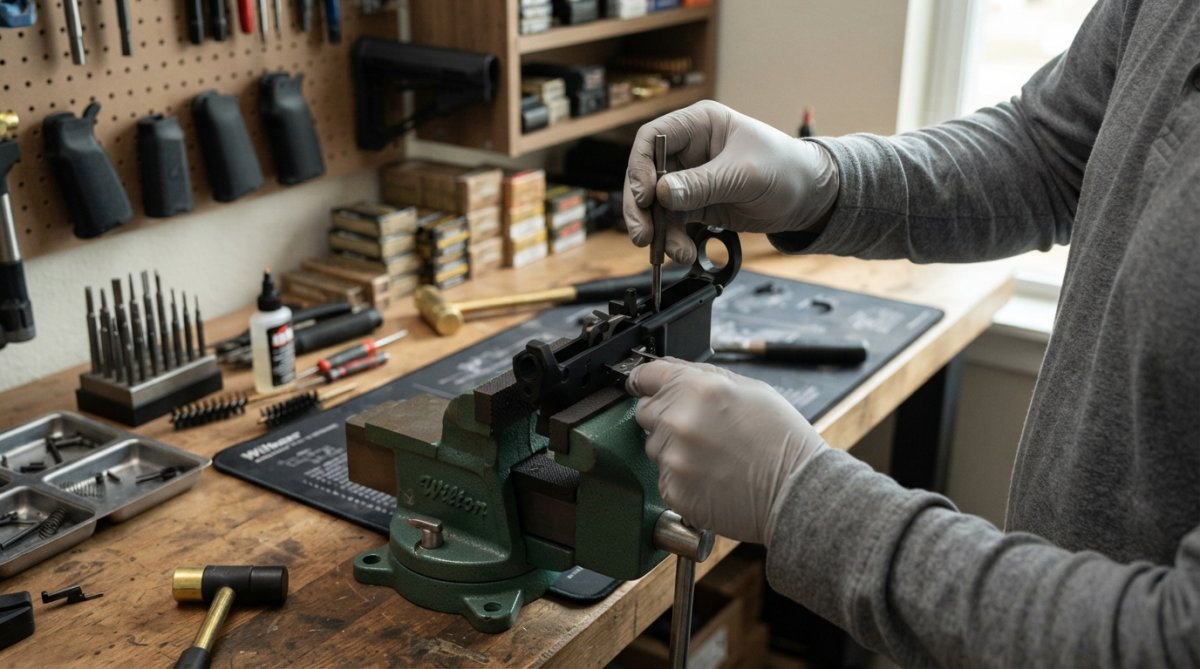
Inspect the new trigger assembly to verify all springs are in place, sear engagement surfaces are clean, and the trigger pull weight feels consistent. Position the new assembly in the frame, aligning the pin holes. You may need to use a slave pin to hold the assembly in position while driving the main trigger pin through.
Insert the trigger pin using the punch and mallet with steady taps. The pin should slide in with moderate resistance. Once fully seated, verify the trigger moves freely and doesn’t bind. Reinstall the locking block using the same method you used to remove it.
Step 4: Reassemble Your Firearm
Reverse the disassembly steps to reattach the slide to the frame. Verify the slide racks smoothly by cycling the action multiple times. The trigger should reset with a crisp, audible click. If there’s any grinding, binding, or sluggish reset, troubleshoot before proceeding.
How to Perform a Safety Function Check After Trigger Install
Perform a dry fire test in a safe direction, the firearm should fire with authority. Check the reset by releasing the trigger completely; you should feel and hear a distinct click as the sear resets.
Verify the drop safety by manually cycling the slide or bolt carrier rapidly with the firearm unloaded and pointed safely downrange (nssf.org). The firearm should not fire. Check trigger pull weight consistency by dry firing 5-10 times; the pull should feel the same each time. Finally, inspect for pre-travel and over-travel; both should be minimal and consistent.
Common Trigger Installation Mistakes to Avoid
The first mistake is installing the trigger assembly upside down or backwards. Always verify orientation against your assembly instructions before driving the trigger pin home.
The second mistake is over-tightening the trigger pin. Tap steadily and stop once you feel solid resistance; excessive force can stress the frame or cause binding.
The third mistake is failing to verify sear engagement before reassembly. Manually manipulate the trigger to feel the sear break; if it’s mushy or indistinct, the engagement surfaces may need polishing or the sear spring may need adjustment.
The fourth mistake is neglecting the locking block. Always verify it’s fully seated and its pin is tight.
The fifth mistake is installing a trigger assembly that’s out of spec for your platform. Always verify compatibility before purchasing and installing.
Troubleshooting Installation Issues
Mushy or dead trigger: The sear doesn’t break cleanly, usually indicating insufficient sear engagement or worn engagement surfaces. Inspect the sear engagement point on both the trigger and sear for wear marks or deformation.
Sluggish reset: The trigger resets slowly, suggesting the sear spring lacks tension. Verify the spring is fully seated and compressed, or try loosening the pin slightly to reduce friction.
Binding or grinding: Verify the trigger pin is fully seated and the locking block is properly indexed. Inspect the trigger for burrs or damage, and check frame rails for damage requiring filing.
Inconsistent trigger pull weight: Minor variations are normal, but significant variations suggest the assembly isn’t fully locked in place or the sear spring tension is unstable.
Drop safety failure: The firearm fires when the slide is cycled without touching the trigger. Verify sear engagement is correct and the sear spring has adequate tension. If the problem persists, the trigger assembly may be defective.
Installing a custom trigger assembly requires patience, precision, and respect for mechanical systems. The process is straightforward: disassemble, remove the old trigger, install the new one, reassemble, and verify function. The details matter enormously.
Our aluminum MKE lowers and specialized trigger kits are engineered for reliable drop-in installation with minimal fitting required. Start with quality parts, use proper tools, and verify safety at every stage. That’s the formula that works.
=== FAQ ANSWERS (audit these too, same rules) ===
[1] Q: What tools are required for a custom trigger installation?
A: You’ll need a punch set (including the correct diameter punch for your trigger pin), a small hammer or mallet, a vise or clamping block to secure your frame, gunsmith screwdrivers, and possibly a specialized trigger pin removal tool depending on your platform. Drop-in triggers may require fewer tools than full trigger assemblies. Always verify your specific trigger kit’s requirements before starting.
[2] Q: How do I know if my custom trigger installation is correct?
A: After installation, perform a function test: ensure the trigger breaks cleanly without binding, the reset engages properly with each cycle, the safety engages and disengages smoothly, and the firearm functions through several dry fire cycles without issues. Check that the trigger pin is fully seated and the locking block is properly aligned. If you notice mushy trigger feel, dead zones, or binding during the reset, review pin alignment and spring tension before firing.
[3] Q: Is it safe for a beginner to install their own custom trigger?
A: Yes, if you follow proper safety protocols and take your time. Always clear the firearm completely before starting, work in a clean space with proper lighting, and follow the manufacturer’s instructions precisely. The most common beginner mistakes involve incorrect pin alignment and over-tightening components. If you’re unsure at any point, stop and consult the documentation or seek guidance from experienced builders before proceeding.
[4] Q: What should I do if my trigger feels mushy or unresponsive after installation?
A: A mushy trigger typically indicates improper sear engagement, incorrect spring tension, or tolerance stacking issues. First, verify the trigger pin is fully seated and the locking block is aligned correctly. Check that the sear spring has proper tension and the connector is positioned correctly. If the trigger has dead zones or delayed reset, the issue may be with pre-travel adjustment or pin alignment. Disassemble, inspect each component for damage, and reinstall with careful attention to part positioning.
Frequently Asked Questions
What tools are required for a custom trigger installation?
You'll need a punch set (including the correct diameter punch for your trigger pin), a small hammer or mallet, a vise or clamping block to secure your frame, gunsmith screwdrivers, and possibly a specialized trigger pin removal tool depending on your platform. Drop-in triggers may require fewer tools than full trigger assemblies. Always verify your specific trigger kit's requirements before starting.
How do I know if my custom trigger installation is correct?
After installation, perform a function test: ensure the trigger breaks cleanly without binding, the reset engages properly with each cycle, the safety engages and disengages smoothly, and the firearm functions through several dry fire cycles without issues. Check that the trigger pin is fully seated and the locking block is properly aligned. If you notice mushy trigger feel, dead zones, or binding during the reset, review pin alignment and spring tension before firing.
Is it safe for a beginner to install their own custom trigger?
Yes, if you follow proper safety protocols and take your time. Always clear the firearm completely before starting, work in a clean space with proper lighting, and follow the manufacturer's instructions precisely. The most common beginner mistakes involve incorrect pin alignment and over-tightening components. If you're unsure at any point, stop and consult the documentation or seek guidance from experienced builders before proceeding.
What should I do if my trigger feels mushy or unresponsive after installation?
A mushy trigger typically indicates improper sear engagement, incorrect spring tension, or tolerance stacking issues. First, verify the trigger pin is fully seated and the locking block is aligned correctly. Check that the sear spring has proper tension and the connector is positioned correctly. If the trigger has dead zones or delayed reset, the issue may be with pre-travel adjustment or pin alignment. Disassemble, inspect each component for damage, and reinstall with careful attention to part positioning.
This article was written using GrandRanker

