

Table of Contents
- What Makes a Rifle Furniture Kit Budget-Friendly
- Essential AR-15 Furniture Components You Actually Need
- Best Budget AR-15 Upgrades Under $100
- AR-15 Furniture Kit Compatibility: What You Need to Know
- How to Install Rifle Furniture Without Mistakes
- Durability and Long-Term Value
- Conclusion
Last Updated: August 25, 2026
What Makes a Rifle Furniture Kit Budget-Friendly
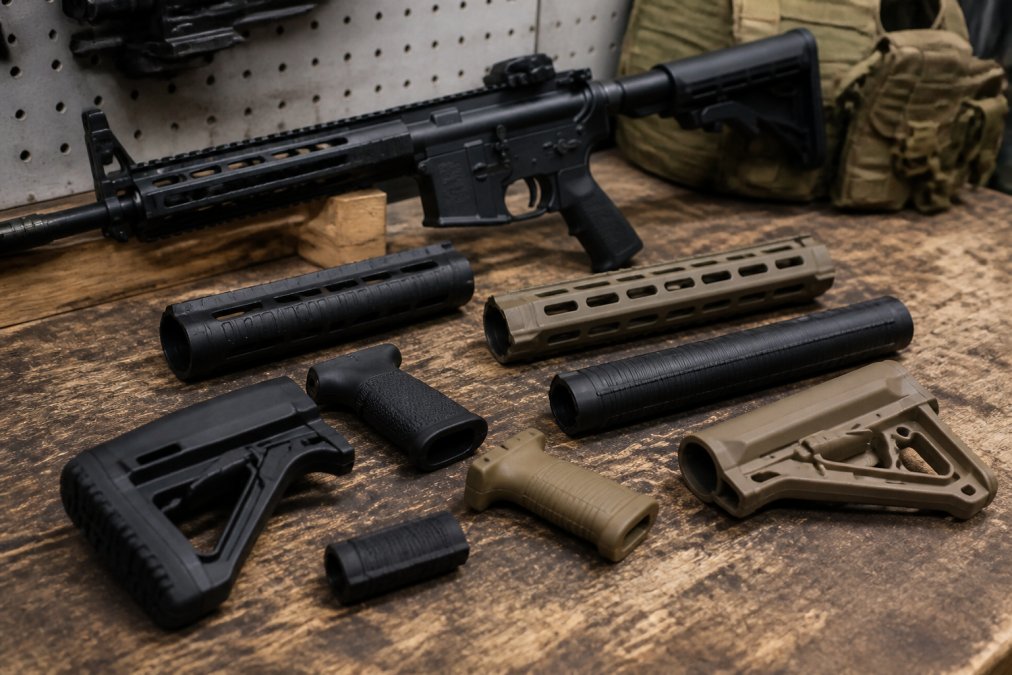
Budget-friendly rifle furniture kits balance cost and functionality without sacrificing reliability or durability. The best budget friendly rifle furniture kits deliver mil-spec compatibility, durable materials, and straightforward installation at prices that don’t require choosing between your build and your wallet.
What separates a true budget option from cheap garbage comes down to material selection and engineering. A polymer stock with reinforced stress points will outlast a flimsy alternative twice its price. Similarly, proper mil-spec tolerances matter more than flashy features you’ll never use. The kits that win on value aren’t cutting corners on metallurgy or fit, they’re eliminating unnecessary complexity.
At Polymer Pew, we’ve watched builders chase premium pricing when the real performance gains come from smart material choices and tested compatibility. Most budget-friendly rifle furniture kits include a stock, grip, and sometimes a handguard. The key is ensuring those components work together without binding, wobble, or installation headaches that eat up your time and sanity.
A solid budget kit typically features anodized aluminum or high-strength polymer construction, mil-spec buffer tube compatibility, and ergonomic texturing that doesn’t cost extra. You’re looking at proven designs that have been field-tested, not experimental features that sound impressive in marketing copy but deliver mediocre results.
Essential AR-15 Furniture Components You Actually Need
Not every furniture component deserves space on your rifle. Understanding what actually matters separates builders who waste money from those who maximize value with every purchase.
The stock is your foundation. It determines length of pull, cheek weld consistency, and recoil management. A quality mil-spec stock with adjustable positions costs less than a premium option but delivers 95% of the performance (peer-reviewed research). Look for rubberized butt pads and reinforced receiver extensions that won’t crack under repeated use.
The pistol grip determines weapon control and shooting comfort. A textured grip with proper angle reduces hand fatigue during extended shooting sessions. Most budget-friendly rifle furniture kits include grips with aggressive texturing, this matters more than material cost. A well-textured polymer grip outperforms a smooth aluminum alternative.
The handguard serves dual purposes: heat protection and accessory mounting. M-LOK and KeyMod attachment points let you add rails, lights, or vertical grips without permanent modifications. Budget options in this category work well for shooters who don’t need every mounting point filled.
The buffer tube and buffer spring complete the recoil system. These must be mil-spec compatible or you’ll face fitment issues that derail your entire build. Most quality budget kits include these components, but verify compatibility before purchasing.
Magazine catch and bolt catch components matter less for budget-conscious builders. Factory mil-spec versions work fine. Enhanced versions cost more and deliver marginal improvements unless you’re running competition-grade setups.
| Component | Purpose | Budget Priority | Notes |
|---|---|---|---|
| Stock | Length of pull, cheek weld | High | Mil-spec compatibility essential |
| Pistol Grip | Control, ergonomics | High | Texture matters more than material |
| Handguard | Heat protection, rail mounting | Medium | M-LOK sufficient for most shooters |
| Buffer Tube | Recoil management | High | Must be mil-spec |
| Magazine Catch | Retention | Low | Factory version adequate |
Best Budget AR-15 Upgrades Under $100
This price range captures the sweet spot where quality components meet genuine affordability. These upgrades deliver measurable improvements without requiring a second mortgage.
Complete Stock Kits
The UTG Pro AR15 Ops Ready S4 Mil-spec Stock Kit represents the gold standard for budget stock solutions. It includes the buffer tube, buffer spring, receiver end plate, and castle nut, everything you need for installation. The four-position adjustability handles different shooting positions and gear configurations. The rubberized butt pad reduces felt recoil, and the integrated sling attachment points add versatility without extra cost.
This kit prioritizes completeness over flashy features. You’re not paying for premium materials; you’re getting proven mil-spec design that has been tested across thousands of builds. The cheek rest is ergonomic without being oversized, and the weight stays minimal.
The Trinity Force AR-15 17 Degree Polymer Pistol Grip + Stock Kit combines two critical components at a price point that seems almost aggressive. The 17-degree grip angle improves weapon control compared to standard 0-degree designs (peer-reviewed research). The stock is mil-spec compatible and includes a storage compartment, useful for spare batteries or cleaning patches.
This combination works well for builders who want ergonomic improvements without premium pricing. The aggressive texturing on the grip provides positive control even with gloves or sweaty hands. Installation is straightforward: the stock slides onto any mil-spec buffer tube, and the grip requires no special tools.
Grip and Furniture Combos
The Magpul MOE M-LOK AR-15 Furniture Kit delivers three components, stock, handguard, and grip, in a coordinated package. Magpul’s MOE line uses high-strength polymer that resists temperature extremes and impact. The M-LOK attachment points give you flexibility for future upgrades without overcomplicating the base configuration.
The MOE carbine handguard strikes the right balance for budget builds. It’s not as modular as premium options, but it covers the barrel, protects your hands from heat, and provides adequate rail space for most shooters. The grip includes a storage compartment and anti-slip texturing.
The Hogue AR15 Kit Finger Groove Beavertail Grip & OverMolded Collapsible Buttstock prioritizes ergonomic comfort. The finger grooves guide your hand into a consistent grip position, reducing fatigue during extended shooting. The beavertail design prevents pinching and provides additional control surface.
This kit works especially well for shooters with larger hands or those who’ve experienced grip-related fatigue. The rubberized OverMolded construction feels premium without premium pricing. The collapsible stock adjusts quickly for different shooting positions.
AR-15 Furniture Kit Compatibility: What You Need to Know
Compatibility issues destroy builds. A stock that doesn’t fit your buffer tube, a grip that binds during installation, or a handguard that interferes with your upper receiver wastes time and money. Understanding compatibility requirements prevents these problems.
Mil-spec is your baseline standard. Most furniture components reference mil-spec dimensions, but "mil-spec compatible" doesn’t guarantee perfect fitment with every receiver. Tolerances vary slightly between manufacturers, and some builds require minor adjustments.
Buffer tube compatibility matters immediately. Standard mil-spec tubes work with most stocks, but some budget options use slightly different diameters. Before purchasing, verify your receiver extension matches the stock’s specifications. If you’re building from a complete lower, check the manufacturer’s documentation.
Handguard fitment depends on your upper receiver and barrel profile. Free-floating handguards require specific clearances that vary between manufacturers. Drop-in handguards like the MOE line work with most standards, but measure your barrel diameter and upper receiver profile before ordering.
Pistol grip compatibility is usually straightforward, most grips fit mil-spec lower receivers. The issue arises when you’re upgrading an existing build with a non-standard lower. Some aftermarket lowers have slightly different tang dimensions. Test fit before final installation.
Picatinny rail and M-LOK compatibility on handguards determines what accessories you can mount. Budget handguards typically feature M-LOK, which is lighter and less obstructive than full Picatinny rails. Verify your planned accessories use M-LOK before committing.
Before purchasing any kit, verify your receiver’s specifications. Check the manufacturer’s documentation for buffer tube type, [lower receiver](/durable-aluminum-lower-receiver-build-guide/) profile, and any custom modifications. This five-minute step prevents compatibility disasters.
How to Install Rifle Furniture Without Mistakes
Installation difficulty separates budget kits from premium ones. Some require specialized tools and careful technique; others drop in with basic hand tools. Understanding the process prevents stripped screws, binding components, and frustrated afternoons. reliable hunting equipment.
Stock Installation Basics
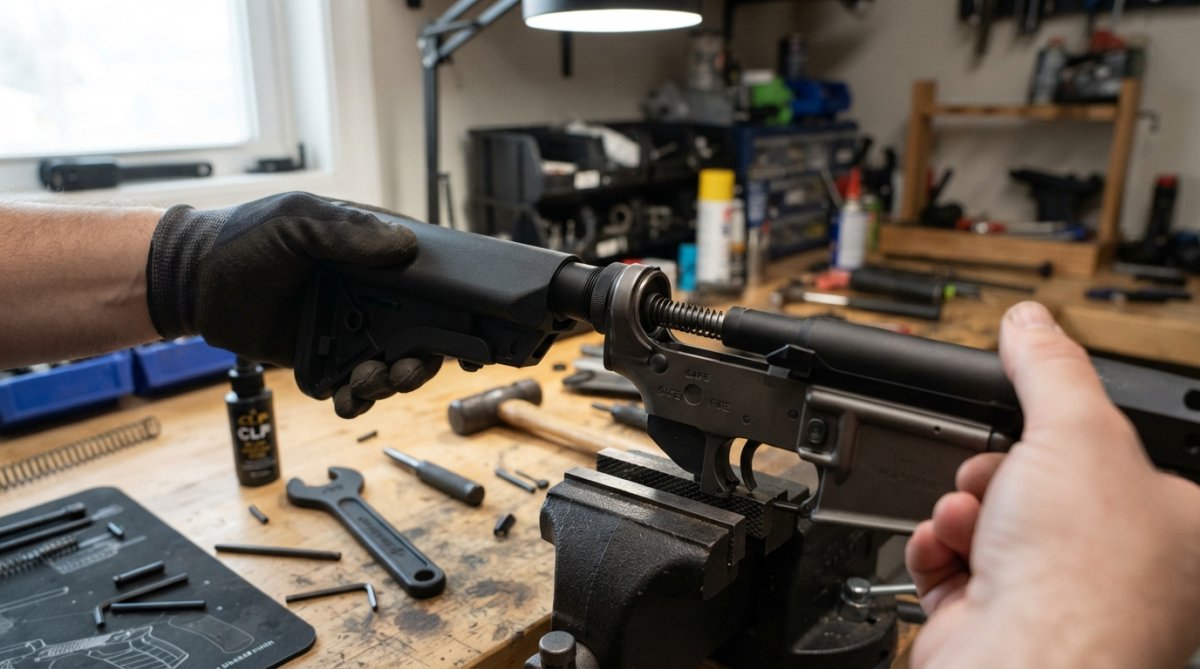
Stock installation is the easiest furniture upgrade. The buffer tube slides into the receiver extension cavity, and the stock slides onto the tube. Tighten the castle nut by hand first, then use a wrench to snug it firmly, not crushing-force tight, just secure enough that it won’t rotate.
The castle nut has notches that align with a pin hole in the receiver extension. This pin prevents the nut from rotating during use. If your pin doesn’t align after tightening, back off slightly and try again. Forcing alignment damages the receiver.
The recoil spring and buffer sit inside the tube before the stock slides on. Ensure the spring sits fully in the tube, a partially seated spring causes binding when you collapse the stock. Test the stock’s full range of motion before declaring victory.
Sling attachment points on budget stocks are usually simple loops or QD mounts. These require no installation, they’re molded into the stock. If your sling uses a QD mount, verify the socket is accessible and doesn’t interfere with your cheek weld.
Grip and Handguard Swaps
Grip installation requires removing the pistol grip screw from your lower receiver. One screw holds the entire grip assembly. Back it out completely, remove the old grip, and slide the new one into place. Insert the screw and tighten firmly, overtightening cracks polymer grips.
Some grips include storage compartments with removable panels. Ensure the panel is installed before tightening the grip screw, or you’ll need to remove and reinstall the grip later.
Handguard installation depends on the style. Drop-in handguards like the MOE carbine slip over the barrel and rest against the upper receiver. No tools required, just slide it on and verify it sits flush. If it binds or doesn’t align, check for burrs on the barrel or upper receiver.
Free-floating handguards require more precision. They don’t touch the barrel, which theoretically improves accuracy. Budget free-floating options are rare, so most budget kits use drop-in designs.
Common Installation Mistakes to Avoid
Overtightening the castle nut is the most common error. The nut doesn’t need crushing force, hand-tight plus a quarter turn with a wrench is sufficient. Excessive force cracks receivers and damages the nut notches.
Installing the recoil spring incorrectly causes binding when you collapse the stock. The spring must sit fully inside the buffer tube before the stock slides on. If the stock feels stuck or grinds during collapse, remove it and reseat the spring.
Forcing a grip that doesn’t fit damages the lower receiver’s grip tang. If the grip doesn’t slide smoothly into place, stop. Check for burrs, debris, or incompatible dimensions. A properly fitted grip slides in with minimal resistance.
Neglecting to check handguard fitment before final assembly wastes time. Slide the handguard on your barrel and verify it aligns with the upper receiver. If it binds, identify the problem before installing other components.
Never force any component into place. Binding, grinding, or excessive resistance indicates a compatibility issue or installation error. Stop, assess the problem, and correct it before continuing. Forcing components risks permanent damage to your receiver or parts.
Durability and Long-Term Value
Budget doesn’t mean disposable. The best budget-friendly rifle furniture kits are engineered for thousands of rounds and years of use. Understanding material science and stress testing separates components that last from those that fail prematurely.
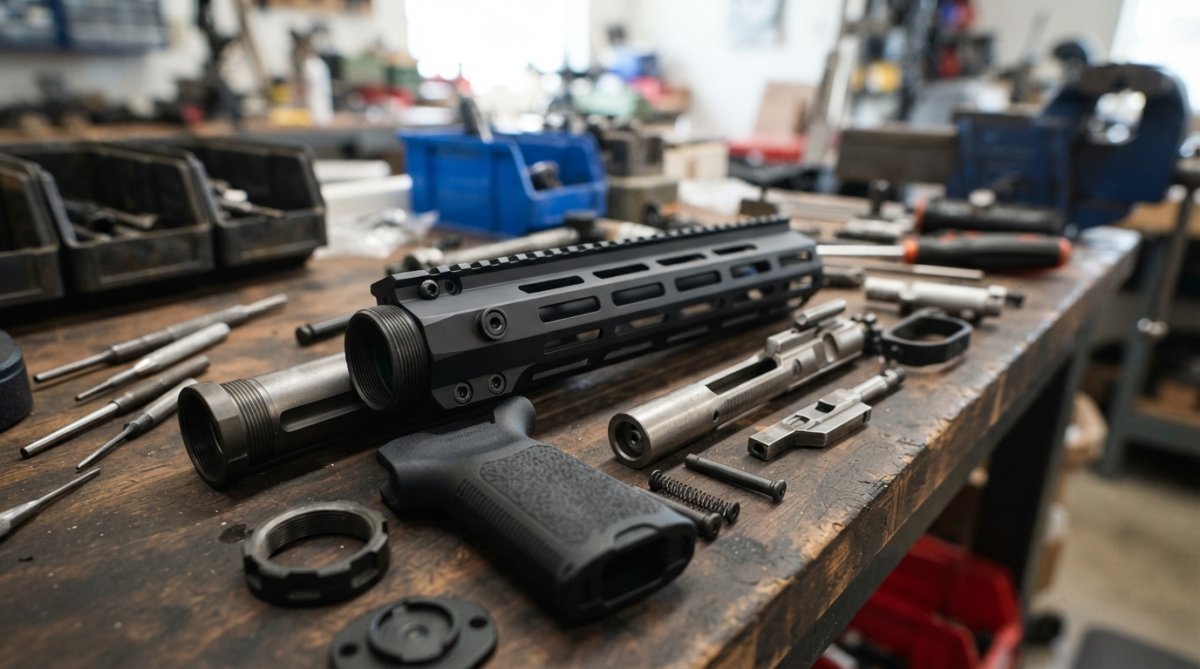
Anodized aluminum resists corrosion and impact better than bare aluminum (nist.gov). The anodizing process creates a protective oxide layer that hardens the surface. Budget stocks and handguards often use anodized aluminum because it’s durable and cost-effective.
Polymer components in quality budget kits use reinforced formulations designed for firearm use. Standard polymer fails under stress; reinforced polymer includes glass fibers or other additives that increase strength. Check product descriptions for "reinforced" or "impact-resistant" language.
Stainless steel internals resist corrosion better than carbon steel. The buffer spring, buffer, and small metal components in budget kits should be stainless steel. This costs slightly more but extends component life significantly.
Stress testing reveals durability. Components tested with thousands of cycles, stock collapses, recoil impacts, temperature swings, prove their reliability. Budget manufacturers who test their components earn trust through data, not marketing claims.
Weight-to-price ratio matters for long-term value. A slightly heavier stock that lasts five years beats a lightweight option that fails after one. Calculate the cost per year of expected use, and budget options often win on this metric.
Warranty coverage indicates manufacturer confidence. Limited lifetime warranties suggest the manufacturer stands behind their components. No warranty or short-term coverage signals lower confidence in durability.
The best budget-friendly rifle furniture kits balance material quality, proven design, and realistic pricing. Durability comes from proper material selection and engineering, not premium pricing. Test your components before committing to field use, and monitor them for signs of wear.
Building a reliable AR-15 platform doesn’t require premium pricing. The best budget-friendly rifle furniture kits deliver mil-spec compatibility, durable construction, and straightforward installation at prices that make sense for serious shooters. Polymer Pew specializes in high-performance firearm components engineered for compatibility and reliability, from aluminum MKE lowers to specialized super safety kits and flat triggers. Whether you’re building your first rifle or upgrading an existing platform, quality budget components deliver measurable improvements. Get your Flatties here and start building with confidence.
Frequently Asked Questions
Q: What is included in a standard rifle furniture kit?
A: A typical budget-friendly rifle furniture kit includes a collapsible stock, pistol grip, and sometimes a handguard or foregrip. Most complete stock kits include the buffer tube, buffer spring, end plate, and castle nut, everything needed for mil-spec installation. Some kits add lower parts or trigger components. Check product descriptions to confirm what's included, as configurations vary widely between manufacturers.
Q: Are budget-friendly rifle furniture kits durable?
A: Yes, budget-friendly kits can be durable if they use quality materials like anodized aluminum and hardened stainless steel internals. Polymer construction is lightweight and reliable when properly engineered. The key is checking whether components are mil-spec compliant and have undergone stress testing.
Q: Is it easy to install a new rifle furniture kit yourself?
A: Most furniture installation is straightforward for DIY builders. Stock kits typically require removing the castle nut and end plate, then sliding on the new components, no gunsmithing needed. Grip and handguard swaps are even simpler; they're usually tool-free. The main challenge is avoiding cross-threading the castle nut or over-torquing components. Take your time, follow manufacturer instructions, and use a castle nut wrench if needed. If you've never done it, watch a video first.
Q: Can I mix and match furniture brands on my AR-15?
A: Yes, as long as components are mil-spec compliant. Most AR-15 furniture follows standardized dimensions: buffer tubes are mil-spec, picatinny rails are universal, and M-LOK or KeyMod slots are interchangeable. You can pair a Magpul stock with a Strike Industries grip without issues. The real compatibility check is whether your lower receiver matches your upper, that's where fitment problems happen. Always verify that new furniture fits your specific receiver before purchasing.
This article was written using GrandRanker

