

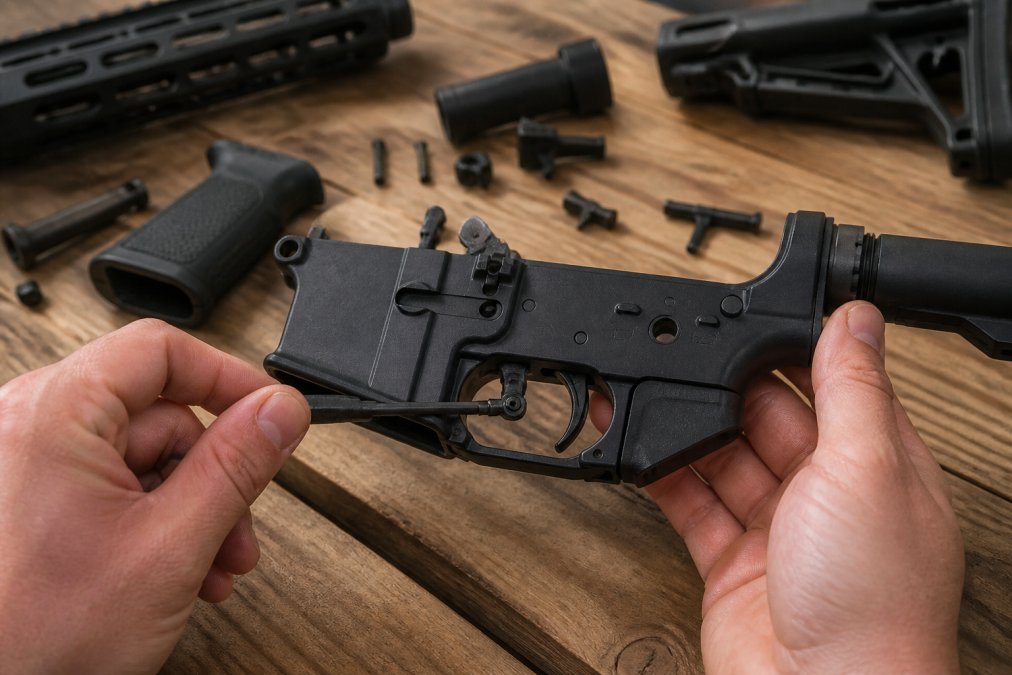
Table of Contents
- What Is Trigger Overtravel and Why You Should Avoid It
- Is Trigger Overtravel Bad for Accuracy
- Tools and Safety Considerations Before You Start
- How to Adjust Trigger Overtravel: Step-by-Step
- Aftermarket Trigger Kits: Choosing the Right Upgrade
- Common Mistakes to Avoid When Reducing Overtravel
- When to Stop: Safety Limits and Platform Compatibility
- Conclusion
Last Updated: August 5, 2026
What Is Trigger Overtravel and Why You Should Avoid It
Trigger overtravel is the distance your trigger finger travels after the sear engagement breaks and the trigger bar has already released the striker. Understanding how to avoid it matters because excess travel degrades precision and introduces inconsistency into shot execution. The less unnecessary movement between trigger break and hammer drop, the tighter your groups become.
Most shooters encounter overtravel without realizing it’s the culprit behind accuracy issues. Your finger continues pressing forward even after the firing pin has dropped, creating a small but measurable shift in your weapon’s position at the critical moment of ignition. The mechanical stop that prevents further trigger bar travel determines how much overtravel you’re dealing with. Some platforms ship with generous overtravel specs designed for reliability over precision; others come tighter from the factory.
The sear engagement point is where your trigger actually fires the weapon. Anything beyond that point is pure overtravel. Precision shooters reduce this distance to tighten their groups and improve consistency. The adjustment itself is straightforward once you understand what you’re actually adjusting.
Is Trigger Overtravel Bad for Accuracy
Excessive trigger overtravel absolutely impacts accuracy, especially in precision shooting and competition environments. When your trigger travels further than necessary after the sear releases, your finger continues applying forward pressure into the weapon, creating a tiny but measurable shift in position right at the moment of ignition. That shift translates directly to point-of-impact variation.
The relationship between overtravel and accuracy becomes more pronounced the tighter your baseline accuracy is. A precision rifle shooting 0.5-inch groups at 100 yards will show obvious overtravel effects, while a combat platform with a 4-inch group at 25 yards might not. Every millimeter of unnecessary travel represents a potential accuracy loss.
Creep and overtravel are related but distinct problems. Creep is the gradual movement of the trigger before the sear breaks. Overtravel is the movement after. Both degrade precision, but overtravel is easier to address through simple mechanical adjustment. Even a reduction from 0.125 inches to 0.050 inches produces noticeable changes in your ability to execute repeatable shots.
When testing for overtravel, use dry fire practice to feel the difference. Before adjustment, note where your finger naturally stops. After adjustment, you’ll notice the trigger stops sooner, reducing the distance your finger travels.
Tools and Safety Considerations Before You Start
Before touching the adjustment screw, gather the right tools. You’ll need precision screwdrivers that fit your specific trigger’s set screw without slipping or stripping. A 1/16-inch hex key works for many platforms, but verify your trigger’s specification before starting. Calipers help you track adjustments in concrete terms rather than guessing.
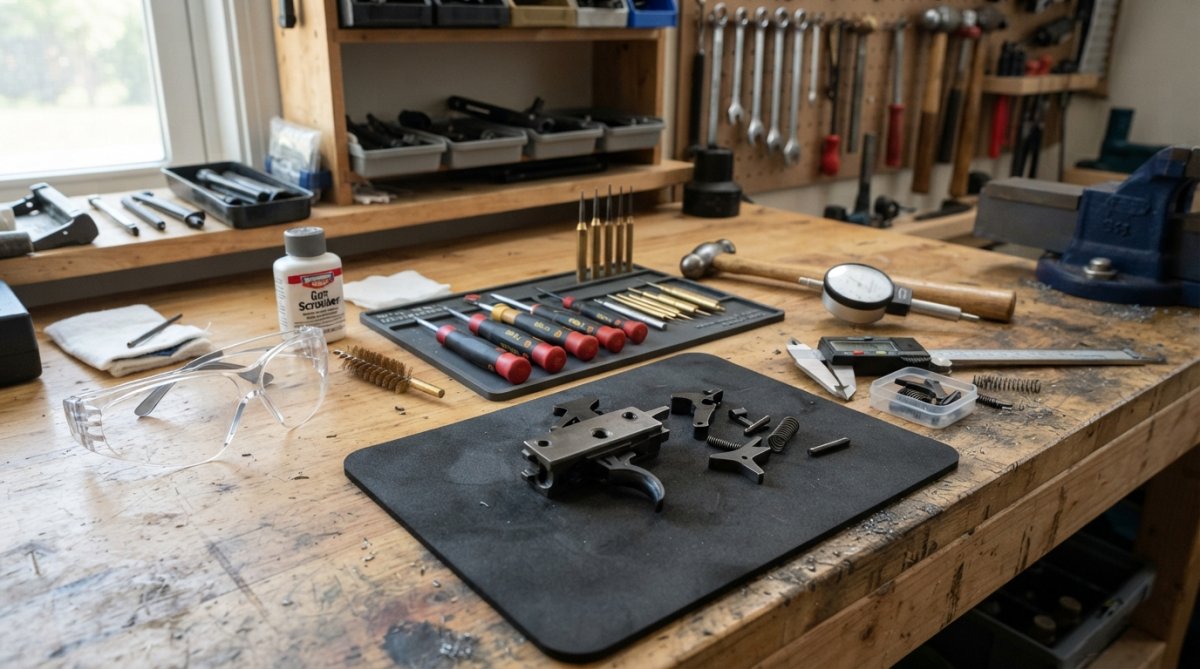
Safety comes before convenience. Always keep your weapon pointed in a safe direction throughout the entire adjustment process. Remove the bolt carrier group or firing pin assembly completely, depending on your platform. This prevents any possibility of accidental discharge. Safety glasses protect your eyes from small springs and components that might fly out under tension.
Mechanical failure risk increases when adjustments are too aggressive. Reducing overtravel beyond safe limits can cause the trigger bar to interfere with the sear, resulting in a trigger that won’t reset properly or won’t fire at all. Respect those limits. Your weapon’s reliability depends on it.
Document your starting point before making any changes. Some shooters take a photo or write down the number of full rotations the adjustment screw requires before it bottoms out. This baseline gives you a reference point if you need to return to factory spec or troubleshoot problems later. Work in a clean environment where small components won’t roll away.
Thread locker is optional but recommended for your final setting. Use only removable strength (typically blue thread locker), not permanent. This allows future adjustments if needed without damaging the screw or surrounding material.
Never force the adjustment screw. If it resists movement, stop immediately. Forcing a stuck screw can strip the threads or break the screw inside the trigger housing, requiring professional gunsmithing to repair.
How to Adjust Trigger Overtravel: Step-by-Step
Step 1: Identify the Adjustment Screw
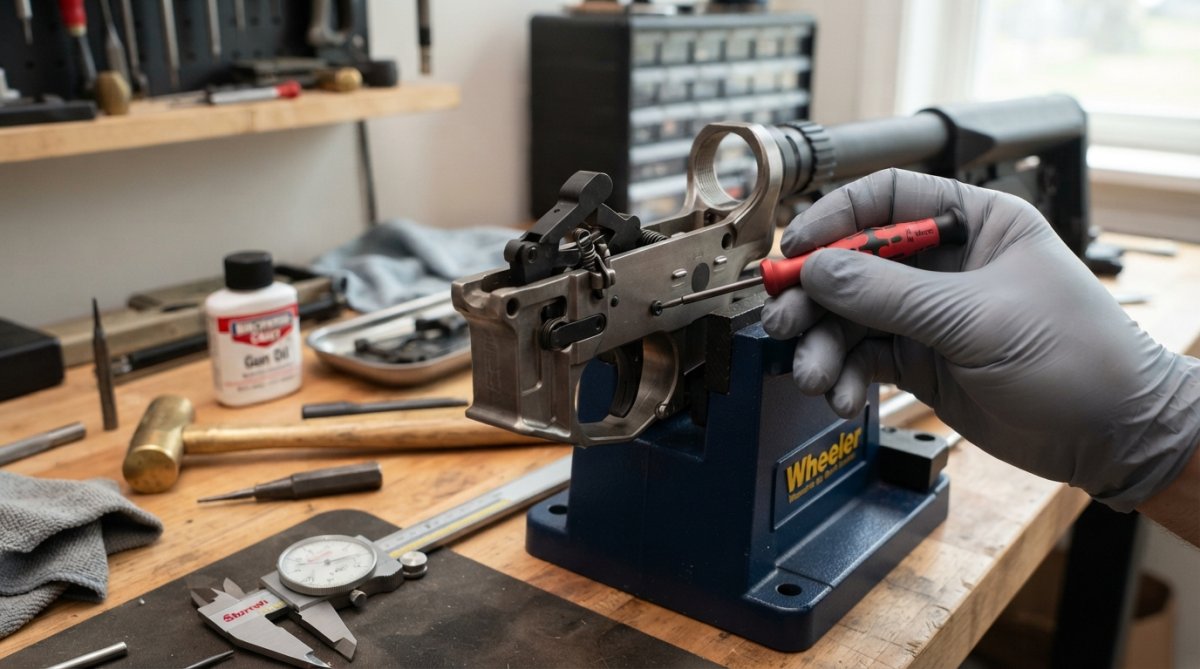
The adjustment screw location varies by trigger design and platform. On most MIM triggers and modern flat trigger designs, the screw sits on the rear of the trigger housing, usually accessible without full disassembly. Consult your trigger’s documentation to locate it precisely. Measure the screw head size before you start so you have the correct tool ready.
Step 2: Establish Your Starting Point
Before making any adjustments, establish a baseline. Count the number of full rotations required to turn the screw from fully bottomed out to fully backed out. Write this number down. This baseline tells you how much adjustment range you actually have.
Test the trigger’s current function before adjustment. Perform a function test with the bolt carrier removed to verify the trigger resets and fires properly at its current setting. If you have calipers, measure the current overtravel distance. Most factory triggers fall between 0.080 and 0.150 inches. Precision triggers often target 0.040 to 0.080 inches.
Step 3: Make Micro-Adjustments
Turn the adjustment screw clockwise by one-quarter turn only. This is the critical rule: never jump more than a quarter-turn at a time. After each quarter-turn, perform a function test. Rack the bolt carrier or use your charging handle to cycle the action and verify the trigger resets properly.
Feel the trigger pull during each test. The break point should remain consistent. The reset should be crisp and positive. If you notice creep developing or if the reset becomes sluggish, you’ve gone too far. Back off by one-eighth turn and test again. Counter-clockwise rotation increases overtravel; clockwise rotation decreases it.
Step 4: Test for Proper Function
After each adjustment, perform a complete function test. Rack the charging handle multiple times. The trigger should reset fully and consistently. If you notice any hesitation, grinding, or unusual resistance during the reset, stop immediately and back off the adjustment.
Dry fire testing reveals whether your adjustment is working correctly. With the weapon pointed safely downrange and the bolt carrier removed, press the trigger and listen for the firing pin to drop. The reset should be immediate and positive. Measure the new overtravel distance to confirm you’ve made progress. Test at the range once you’re confident the trigger functions correctly to verify improved accuracy.
Aftermarket Trigger Kits: Choosing the Right Upgrade
Aftermarket triggers address overtravel more aggressively than factory options. Polymer Pew’s flat trigger designs specifically target overtravel reduction while maintaining reliability across various platform clones. A quality upgrade should deliver overtravel in the 0.040 to 0.080-inch range, which represents a significant improvement over many factory triggers.
Drop-in compatibility matters more than you might think. A trigger kit that requires fitting or modification defeats the purpose of a drop-in upgrade. Polymer Pew’s MKE lower receivers and specialized trigger kits are tested for compatibility across multiple platform variants, eliminating the guesswork.
Cost varies significantly across aftermarket options. Budget-friendly kits offer basic overtravel reduction without premium features. Mid-range upgrades add refinements like lighter pull weight or smoother reset. Premium kits deliver all of that plus tighter tolerances and superior materials. Look for manufacturers who publish pull weight consistency data, reset speed measurements, and durability testing results.
The best aftermarket trigger for overtravel reduction is one that ships with pre-optimized overtravel spec and drop-in compatibility for your specific platform. You avoid adjustment risk entirely while gaining the precision benefits of a reduced-overtravel trigger.
Common Mistakes to Avoid When Reducing Overtravel
The most common mistake is adjusting too aggressively. Shooters eager to maximize precision turn the screw too far, too fast, creating binding between the trigger bar and sear. Conservative micro-adjustments protect your weapon’s function.
Ignoring the reset is another frequent error. You can reduce overtravel successfully but create a sluggish or inconsistent reset in the process. Test the reset after every adjustment. If it’s not crisp and positive, back off.
Failing to document your baseline leaves you without a reference point. A simple note or photo takes 30 seconds and saves you hours of troubleshooting later.
Mixing incompatible components causes unexpected problems. Stick with matched sets from reputable manufacturers. Polymer Pew’s kits are designed as complete systems where all components work together reliably.
Skipping the function test after adjustment is dangerous. Dry fire testing catches hidden issues immediately. Range testing confirms the adjustment actually improved your accuracy.
Applying too much thread locker can make future adjustments impossible. Use removable strength only, and apply sparingly.
When to Stop: Safety Limits and Platform Compatibility
Platform compatibility determines your safe adjustment range. Different platform variants have different trigger housing geometries, sear designs, and mechanical stop locations. If you’re building a clone on an MKE lower, verify that your trigger kit is tested for that specific platform.
Safety limits exist for mechanical reasons. Reducing overtravel beyond approximately 0.040 inches introduces increasing risk of trigger bar interference with the sear or other internal components. Some precision triggers achieve 0.030 inches or tighter, but these require perfect manufacturing tolerances and expert installation.
Recognize the point where further adjustment stops improving accuracy and starts risking reliability. A trigger adjusted to 0.050 inches delivers measurable precision benefits over a 0.100-inch baseline. The law of diminishing returns applies here. Find the sweet spot where precision gains outweigh reliability risk.
Testing reveals your personal limit. If you’ve reduced overtravel to 0.060 inches and your groups are tight and consistent, stop there. A reliable trigger that shoots accurately beats a precision trigger that occasionally fails to reset. Reliability is not negotiable.
Some platforms have design limitations that prevent safe overtravel reduction. If you’re working with a platform known for tolerance issues, consider an aftermarket upgrade instead of modification. Polymer Pew’s specialized kits solve these problems through superior design rather than pushing existing designs beyond their limits.
Document your final setting once you’ve found your optimal adjustment. Write down the number of turns from fully backed out, or take a photo of the screw position.
Reducing trigger overtravel improves precision and consistency, but the adjustment requires precision and respect for mechanical limits. Start with quality components from a manufacturer that understands your platform’s specific requirements. Polymer Pew’s flat triggers and MKE lower receivers are engineered for compatibility and reliability, eliminating the guesswork from trigger upgrades. Whether you’re adjusting an existing trigger or installing an aftermarket kit, prioritize function testing and conservative micro-adjustments over aggressive modifications. Get your precision triggers here and start shooting tighter groups with confidence.
Frequently Asked Questions
What is the difference between trigger creep and trigger overtravel?
Trigger creep is the initial movement before the trigger begins to break, while overtravel is the distance the trigger continues to move after the sear disengages and the hammer drops. Creep affects consistency; overtravel affects follow-through and precision. Both reduce accuracy, but overtravel is the more common issue in factory triggers. Reducing overtravel gives you a crisper, more predictable break.
Can reducing trigger overtravel make my firearm unsafe?
Excessive overtravel reduction can create safety risks by removing the mechanical stop that prevents unintended firing. However, careful adjustment using the correct tools and testing procedures minimizes this risk. Stop as soon as you reach the mechanical stop, never force the adjustment screw past it. If your trigger fires unexpectedly during testing, stop immediately and reassemble.
How much trigger overtravel adjustment is safe for precision shooting?
Most precision shooters target 0.015 to 0.030 inches of overtravel for optimal accuracy. This range provides enough mechanical stop to keep the trigger safe while eliminating excessive post-break movement. Use calipers to measure before and after adjustment. Start conservatively and test at the range before competing or relying on your firearm for critical use.
Are aftermarket trigger kits worth the investment over factory adjustments?
Aftermarket trigger kits offer pre-engineered solutions with consistent pull weight, reduced creep, and minimal overtravel from the factory. They eliminate guesswork and are often more reliable than DIY adjustments. For precision shooting or competition, quality aftermarket triggers provide measurable accuracy gains. For casual shooting, factory adjustment may be sufficient if done carefully.
This article was written using GrandRanker

