

Table of Contents
- What You’ll Need: Tools and Components for Aluminum Lower Receiver Assembly
- Understanding Your Stripped Lower Receiver
- Step-by-Step Assembly Instructions
- AR-15 Lower Receiver Torque Specifications and Thread Locker Usage
- Troubleshooting AR-15 Trigger Group Installation
- Safety, Legal Considerations, and Maintenance
- Common Mistakes to Avoid During Assembly
- Conclusion
Last Updated: August 10, 2026
What You’ll Need: Tools and Components for Aluminum Lower Receiver Assembly
Building a durable aluminum lower receiver requires the right tools and a complete lower parts kit. Without proper equipment, you’ll waste time, risk damaging components, and end up with unreliable function.
Essential Hand Tools
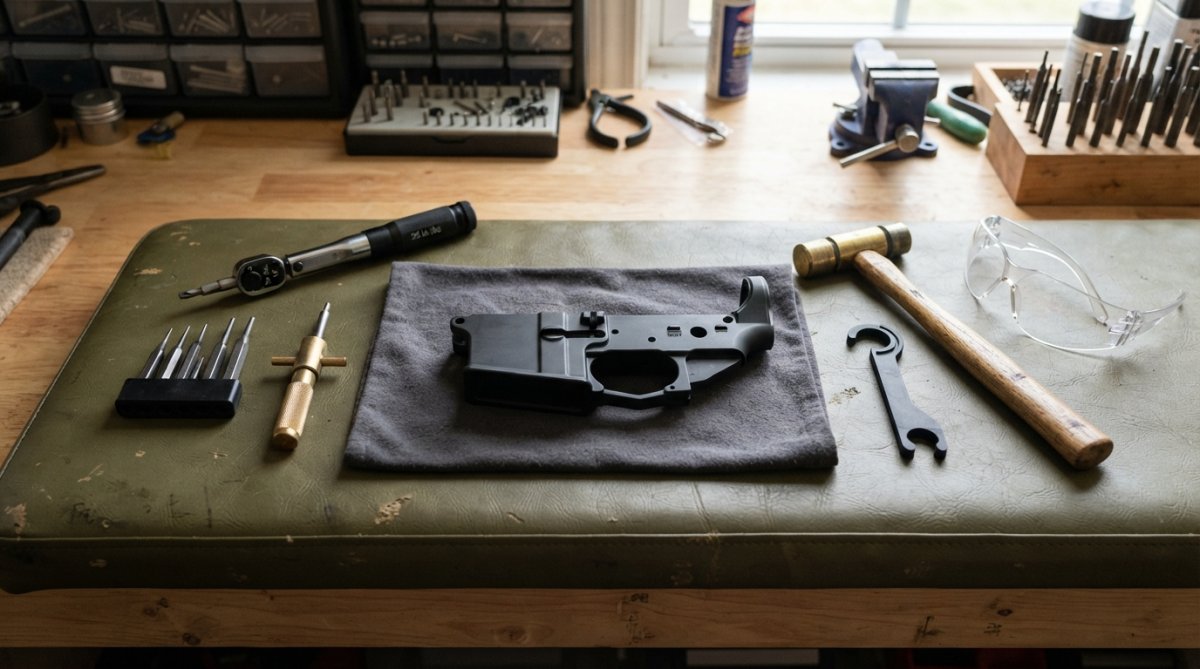
A quality torque wrench is non-negotiable, it ensures fasteners are tightened to specification without over-torquing, which can crack aluminum or strip threads. Look for a wrench rated for 20-80 inch-pounds.
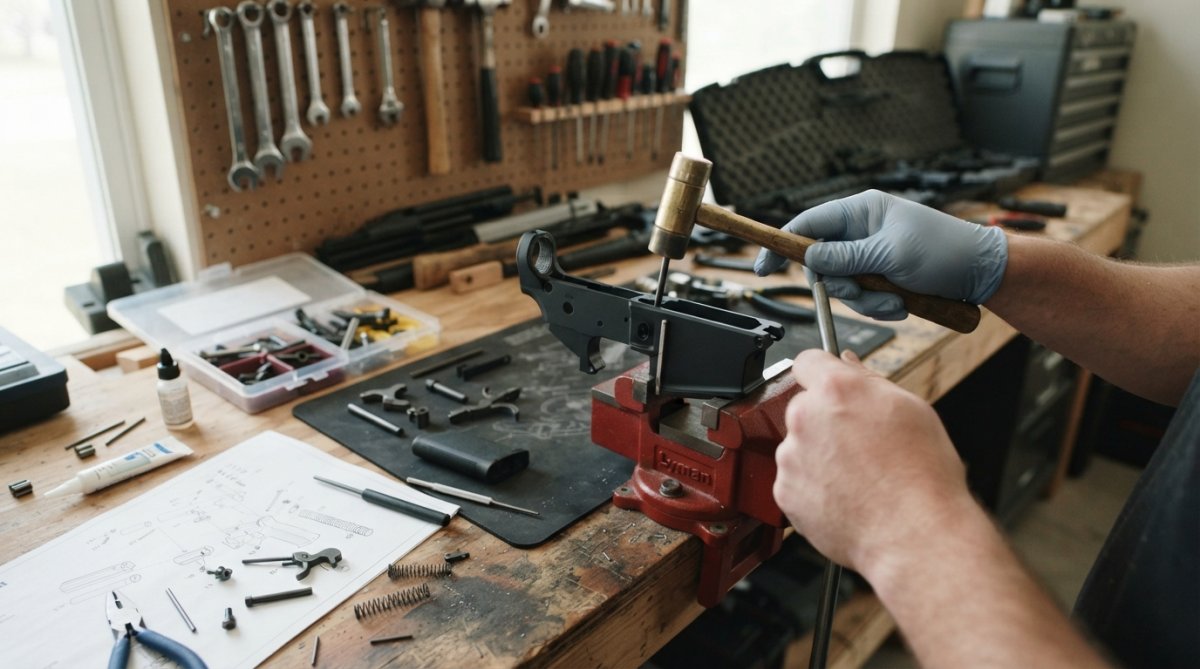
Roll pin starters are critical for installing pivot pins and takedown pins without mushrooming the ends. A standard punch will slip off and gouge your receiver. You’ll also need brass or plastic punches to avoid marring the anodized finish.
A detent spring tool prevents small springs from launching across the room, a lost detent spring means stopping work to order a replacement. Additional essentials include a small hammer (2-4 ounces), safety glasses, and a padded mat to protect the anodized finish.
Lower Parts Kit Overview
A complete lower parts kit contains every component needed except the stripped lower itself: the trigger group (hammer, trigger, disconnector, pins), safety selector, magazine catch, bolt catch, buffer tube assembly, and springs.
Quality matters. A budget kit might save money upfront, but inconsistent tolerances can cause binding or unreliable function. Polymer Pew’s tested lower parts kits are designed for variant compatibility, meaning components fit consistently without modification.
Pay attention to material composition. Stainless steel internals resist corrosion and wear better than plain steel. Verify what’s included before ordering, a missing castle nut means your buffer tube isn’t secured and your build stops.
Understanding Your Stripped Lower Receiver
The stripped lower receiver is the foundation of your build and the regulated component that legally defines the firearm.
7075-T6 vs 6061 Aluminum: Which Material Matters
7075-T6 aluminum is significantly harder and stronger than 6061, making it the preferred choice. It has better fatigue resistance and withstands repeated stress cycles without developing micro-cracks. 6061 is cheaper but can develop stress fractures around trigger pin holes or the magazine catch area after thousands of rounds.
7075-T6’s hardness means it maintains its dimensions, so the trigger group functions smoothly even with tighter tolerances. Polymer Pew’s aluminum MKE lower receivers use 7075-T6 material tested for variant compatibility.
Anodized Finish and Long-Term Durability
Anodizing creates a protective oxide layer that resists corrosion and wear. Type II anodize is standard and suitable for most builds. Type III (hard anodize) is thicker and more durable, ideal for heavy use or competitive shooting.
An anodized finish protects your aluminum lower receiver from moisture, sweat, and environmental corrosion. Without it, bare aluminum oxidizes and develops white corrosion that can bind moving parts. A proper finish also helps with visual inspection, you can see scratches and damage more easily, alerting you to potential issues before they become problems.
The finish should be consistent across the entire receiver. Thin spots or bare aluminum indicate poor quality control. Look for uniform color and sheen when evaluating a receiver.
Step-by-Step Assembly Instructions
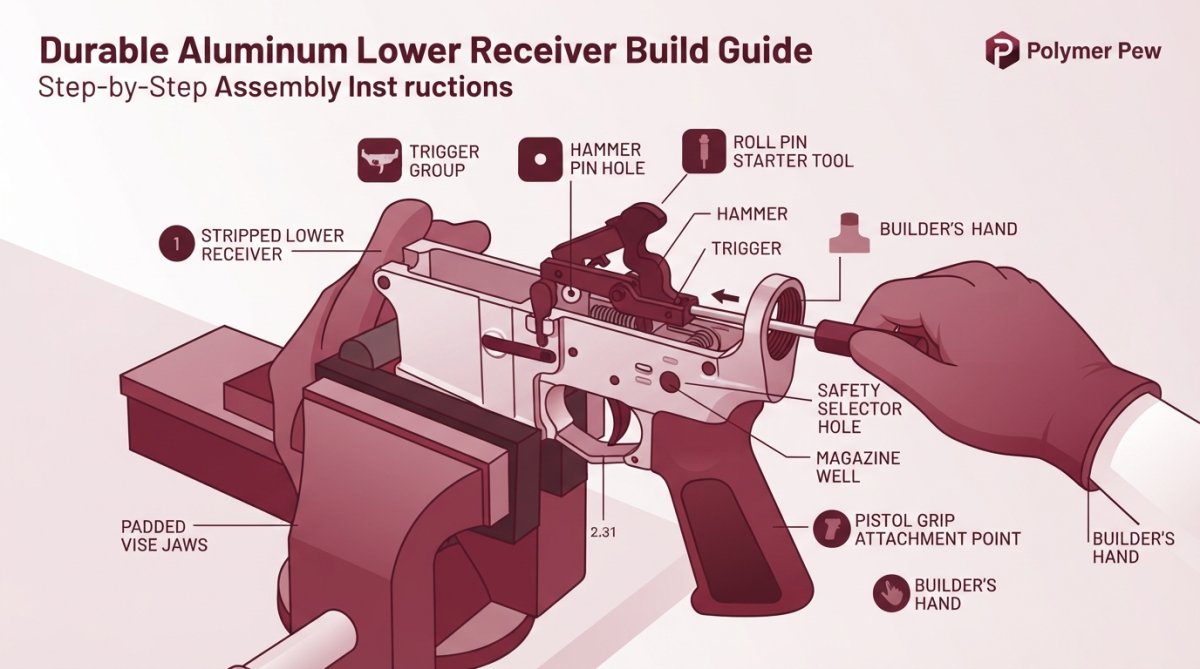
Assembly follows a logical sequence: pivot pin and takedown pin first, then magazine catch and bolt catch, finally the trigger group and safety selector.
Installing the Pivot Pin and Takedown Pin
The pivot pin connects the upper and lower receiver. Insert it from the right side, pushing through until it protrudes slightly on the left. The pin should slide smoothly with light resistance.
The takedown pin sits above the pivot pin and is secured by a spring-loaded detent. Use your detent spring tool to compress the detent, then slide the takedown pin into place. Release the tool carefully so the detent settles into the pin’s groove. Both pins should move freely through their full range of motion.
Installing the Magazine Catch and Bolt Catch
The magazine catch is a spring-loaded button on the left side. Insert the catch spring first, then the catch itself, securing it with the catch roll pin. The roll pin must be fully seated, a partially installed pin will back out during use.
Use your roll pin starter to position the pin, then drive it in with light hammer strikes. The pin should be flush with the receiver surface. If the pin is too tight, the receiver may have burrs; light sandpaper on the pin hole’s edges usually fixes this.
The bolt catch sits on the right side and catches the bolt carrier when the magazine is empty. Install the bolt catch spring first, then the catch, securing it with its roll pin. Press-check both catches after installation, the magazine catch should require deliberate pressure to depress, and the bolt catch should move easily without rattling.
Installing the Trigger Group and Safety Selector
This is where tolerance stacking becomes real. Start by installing the hammer pin from the right side. The hammer should rotate freely on the pin. If it’s tight, stop and investigate for burrs or misalignment.
Next, install the trigger. Insert the trigger pin from the right, pushing it through the trigger and receiver. The trigger should pivot smoothly. The disconnector and its spring go between the hammer and trigger, this is where most binding issues occur.
Install the safety selector last. The selector shaft passes through both the trigger group and receiver walls. Push it in from the left until it seats fully. The selector should rotate smoothly from safe to fire.
After installing all components, perform a function check. Dry fire the trigger with the hammer cocked, it should fall smoothly. Engage the safety; the hammer should not fall when you pull the trigger. Disengage the safety and fire again. This cycle should repeat without hesitation.
AR-15 Lower Receiver Torque Specifications and Thread Locker Usage
Proper torque prevents stripped threads, cracked aluminum, and loose components. Under-torque means parts come loose during use. Over-torque cracks the aluminum or strips threads.
Critical Torque Values for Each Component
The buffer tube castle nut typically requires 50-80 inch-pounds. Use a castle nut wrench and torque wrench to achieve this precisely. Exceeding 80 inch-pounds risks cracking the aluminum.
The pistol grip screw typically requires 20-25 inch-pounds. Magazine catch and bolt catch fasteners usually require 15-20 inch-pounds. Handguard attachment points vary by type, free-floating handguards typically require 40-60 inch-pounds at the barrel nut; non-free-floating typically require 25-35 inch-pounds.
Always use a calibrated torque wrench. A rough estimate by feel is how components come loose or break.
When and How to Apply Thread Locker
Thread locker prevents fasteners from vibrating loose over time. Use removable-strength thread locker (typically blue) on all fasteners except those you might need to adjust frequently.
Apply a small drop to the fastener threads, a drop the size of a match head is sufficient. Let the thread locker cure for the time specified by the manufacturer (typically 24 hours) before firing.
Do NOT use thread locker on roll pins. Roll pins are mechanical fasteners that rely on friction and deformation to stay in place. Thread locker can prevent proper seating and cause the pin to back out.
Troubleshooting AR-15 Trigger Group Installation
Most assembly problems occur during trigger group installation, where tolerances are tightest.
Binding Issues and Tolerance Stacking Solutions
If the trigger is stiff or won’t move smoothly, the issue is usually tolerance stacking. Remove the safety selector and trigger group completely. Manually manipulate each component individually, the hammer, trigger, and disconnector should all move freely.
If any component binds when tested alone, inspect it for burrs or deformation. Inspect the receiver hole for burrs; light sandpaper often fixes this.
If components move freely individually but bind when assembled, the trigger group isn’t seated properly. It must sit flush against the receiver’s trigger pocket. Remove the trigger group, clean the trigger pocket thoroughly, and reinstall, pushing firmly until it seats fully.
Some builders apply a thin coat of assembly grease to trigger group components to reduce friction and identify binding issues.
Function Check and Spring Tension Verification
After assembly, perform a complete function check. Cock the hammer and pull the trigger, it should fall cleanly. Engage the safety; the trigger should not move and the hammer should not fall. Disengage the safety and repeat.
Check the spring tension on the disconnector. When you release the trigger after firing, the disconnector should return quickly. Check the safety selector, it should move from safe to fire with moderate pressure, not too loose or too tight.
Perform these checks multiple times. A function check that works once but fails on the second attempt indicates a component is not fully seated or a spring is not properly positioned.
Safety, Legal Considerations, and Maintenance
Building a lower receiver carries legal and safety responsibilities.
Federal Regulations and Local Compliance
Federal law regulates lower receivers as firearms. Possessing an unserialized lower receiver may violate state or local law depending on your location. Some states require serialization; others prohibit certain configurations. Before building, verify the laws in your state and local area.
The ATF’s firearm regulations provide federal guidance on receiver definitions and manufacturing. If you’re building a receiver for personal use, federal law generally permits this. If you’re building receivers for sale or distribution, you may need a Federal Firearms License (FFL).
Visual Inspection for Wear and Tear
A durable aluminum lower receiver should last thousands of rounds with proper maintenance. Inspect your receiver regularly for cracks, especially around pin holes and the magazine well. Stress cracks typically start small and propagate over time.
Check the anodized finish for wear. Bare aluminum showing through indicates the finish is compromised. If bare aluminum is exposed, clean the area and apply a thin coat of oil to prevent corrosion.
Inspect all pins and fasteners for looseness. Grab the upper receiver and gently wiggle it side to side. There should be minimal play.
Long-Term Lubrication and Care
A light coat of gun oil on the receiver’s exterior protects the anodized finish and prevents corrosion. The trigger group and internal components need minimal lubrication. A dry trigger group often functions better than an over-lubricated one.
Clean the receiver after shooting, especially in wet or dusty conditions. A soft brush and gun cleaning solvent remove carbon and debris. Dry the receiver thoroughly and apply a light coat of oil.
Store the receiver in a dry environment. A gun safe with a desiccant pack is ideal.
Common Mistakes to Avoid During Assembly
The most common mistake is rushing. Assembly takes time. Forcing components or skipping function checks leads to problems that take hours to diagnose.
Over-torquing fasteners is the second most common mistake. Use a torque wrench.
Installing the trigger group without fully seating it causes binding. Push the group firmly into the receiver until it seats completely and verify with a function check.
Forgetting to install detent springs is surprisingly common. Install these springs before installing fasteners.
Installing roll pins backwards or incompletely causes them to back out during use. A fully installed roll pin should be flush with the receiver.
Mixing components from different kits can cause compatibility issues. Use a complete kit from a single manufacturer.
Building a durable aluminum lower receiver requires attention to detail and the right tools. The difference between a reliable build and a problematic one comes down to understanding your materials, following torque specifications, and performing thorough function checks. Polymer Pew’s tested aluminum MKE lower receivers and complete lower parts kits eliminate guesswork, components are pre-validated for compatibility across common receiver types, so you can focus on proper assembly technique rather than troubleshooting fit issues. Get your components from Polymer Pew and build with confidence.
| Component | Torque Specification | Thread Locker | Notes |
|---|---|---|---|
| Buffer tube castle nut | 50-80 inch-pounds | Yes (blue) | Critical fastener; verify with wrench |
| Pistol grip screw | 20-25 inch-pounds | Yes (blue) | Smaller fastener; light torque appropriate |
| Magazine catch | 15-20 inch-pounds | Yes (blue) | Do not over-torque; risk of stripping |
| Bolt catch | 15-20 inch-pounds | Yes (blue) | Same as magazine catch |
| Handguard attachment (free-float) | 40-60 inch-pounds | Yes (blue) | Varies by handguard type |
| Roll pins (all types) | Mechanical seating only | No | Never use thread locker on roll pins |
Frequently Asked Questions
What tools are required to assemble a stripped aluminum lower receiver?
You'll need a torque wrench (critical for consistent fastener tension), roll pin starter and punches, detent spring tool, hammer, and a vise or receiver block for stability. A torque wrench ensures proper fastener specs without over-tightening, which can damage aluminum threads. Most builders also use assembly grease and thread locker for reliability. Quality hand tools prevent damage to your aluminum lower receiver and ensure mil-spec function.
Do I need a torque wrench to build an AR-15 lower receiver?
Yes. A torque wrench is essential for assembling an aluminum lower receiver correctly. Aluminum components are more sensitive to over-torquing than steel, and incorrect tension can cause thread stripping or binding in the trigger group. Proper torque specifications (typically 15-25 ft-lbs for castle nuts and similar fasteners) ensure mechanical reliability and prevent tolerance stacking issues that lead to function problems.
What's the difference between 7075-T6 and 6061 aluminum for a lower receiver?
7075-T6 aluminum is stronger and more durable, offering better resistance to wear and stress over extended use. It's the industry standard for mil-spec lower receivers. 6061 aluminum is lighter and more affordable but less durable under heavy use. For a durable build, 7075-T6 with anodized finish provides superior longevity and reliability, making it worth the investment if durability is your priority.
How do I know if my aluminum lower receiver build is functioning correctly?
Perform a function check: manually cycle the bolt, verify the safety selector clicks between fire and safe positions, check that the trigger breaks cleanly without creep, and confirm the magazine catch holds and releases properly. Inspect all pins and springs visually for proper seating. If the trigger binds or feels gritty, you likely have tolerance stacking, disassemble, check component fit, and reassemble with proper alignment.
This article was written using GrandRanker

